Make your own eczema friendly soap


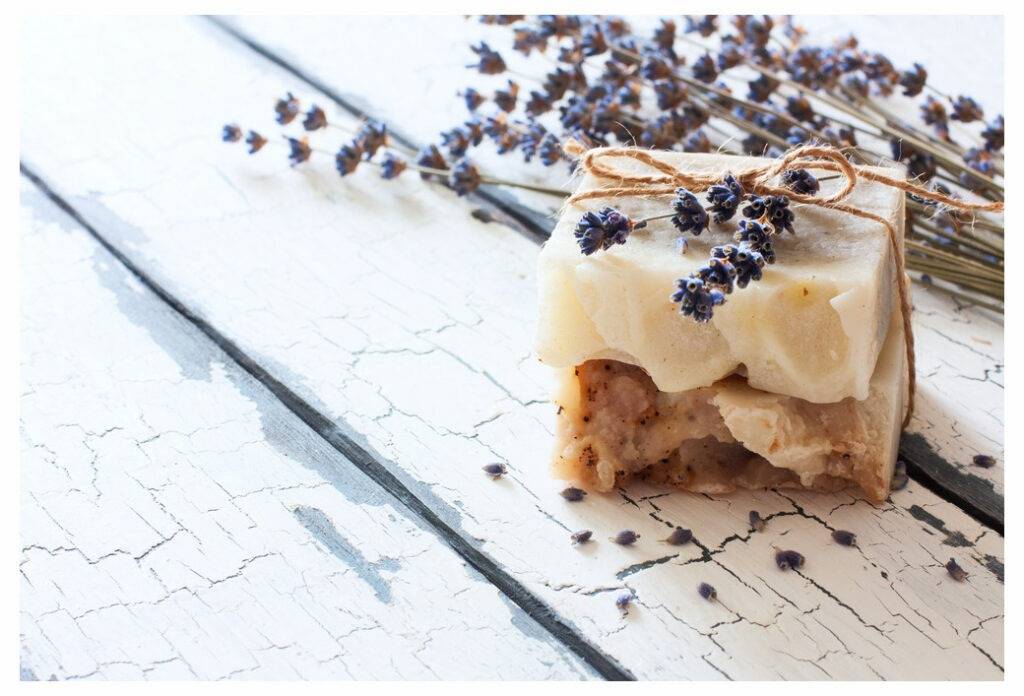
Having realised back that shop bought soap was aggravating the family’s eczema, Grandma ScratchSleeves started making her own soap. Over the years her recipe has evolved to use coconut oil and, when it’s in season, lavender from the garden. Both of these ingredients have been used for centuries to heal sore skin, and this soap recipe has certainly helped keep the ScratchSleeves family clean and itch-free over the years.
You can read more about the benefits of coconut oil for eczema here.
Ingredients for coconut soap
- 930ml of coconut oil
- 14 ml of optional essential oils
- 350 ml of water
- 167 ml of lye (caustic soda and sodium hydroxide, readily available online)
- Dried soy milk (optional)
- Finely ground oats (only if you want a mild, exfoliating soap)
- Sugar
Equipment
- Thermometer
- PH test strip
- Stick blender
- Small glass bowls
- Rubber spatula
- Sink or bowl filled with vinegar and soap mixture (to clean anything that comes into contact with lye)
- Soap mould (if you haven’t got one of these, a bread pan will be fine)
- Parchment paper to line the mould
- Scales
- Slow cooker
- Plastic spoon with a long handle
Making the eczema friendly soap
- Firstly, weigh all the above ingredients and set the slow cooker to low. Then add the water to a medium-sized glass or ceramic bowl and take it outside. Wear rubber gloves and pour the lye into the water carefully, while taking care not to breathe in the vapours. The mixture will heat up and turn cloudy. Wait for it to turn clear and then bring it back inside the house.
- Leave the lye and water to cool for 10 minutes while you heat the saucepan to 50°C and use your thermometer to check the temperature. Put all the coconut oil into the slow cooker and add the lye mixture. Use the stick blender to make a thick yoghurt consistency. Cover the mixture and cook on low for around 45 minutes to one hour. The oils will rise up and fold back into the mixture, but make sure you keep a close eye on it.
- The eczema soap is ready when it looks a bit like Vaseline with no gloopy oily bits. With your PH test strip, dip it into the mixture and wait a few minutes. If it is between 7 and 10 it’s done, but if it’s higher than 10 it’s not done. If you don’t have a PH strip then rub a bit of the soap between your fingers. If it feels waxy then that’s good, but if you put it on your tongue and it feels zingy then it’s not done!
CAUTION: Make sure all the lye is converted into the mixture otherwise the soap will burn. - If you want to add essential oils or scented ingredients, like lavender, wait for the mixture to cool and add them. Otherwise, they will lose their scent. Be cautious when using essential oils, they are a common eczema trigger.
- Spoon the mixture into the mould and let it cool by placing in the fridge. Coconut soap bars are hard to cut, so cut it as soon as it’s cool and firm. Place the soap bars on a rack in a room with good ventilation. Make sure they have about an inch of space between them and let them harden for a few days. You will get the best results if you let them sit for 2 to 3 weeks, but you can use them beforehand!
If stored in a cool dry place, the homemade eczema soap bars will last up to a year. We hope you enjoy!!
Also, check out our blog post on beneficial bath additives as alternative remedies for eczema children.
As well as sharing our experience of bringing up an eczema child (and favourite allergy-friendly recipes), ScratchSleeves also manufacture and sell our unique stay-on scratch mitts and PJs for itchy babies, toddlers and children. We now stock sizes from 0-adult in a range of colours. Visit our webshop for more information.
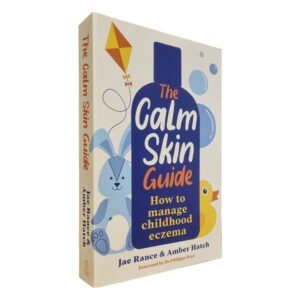
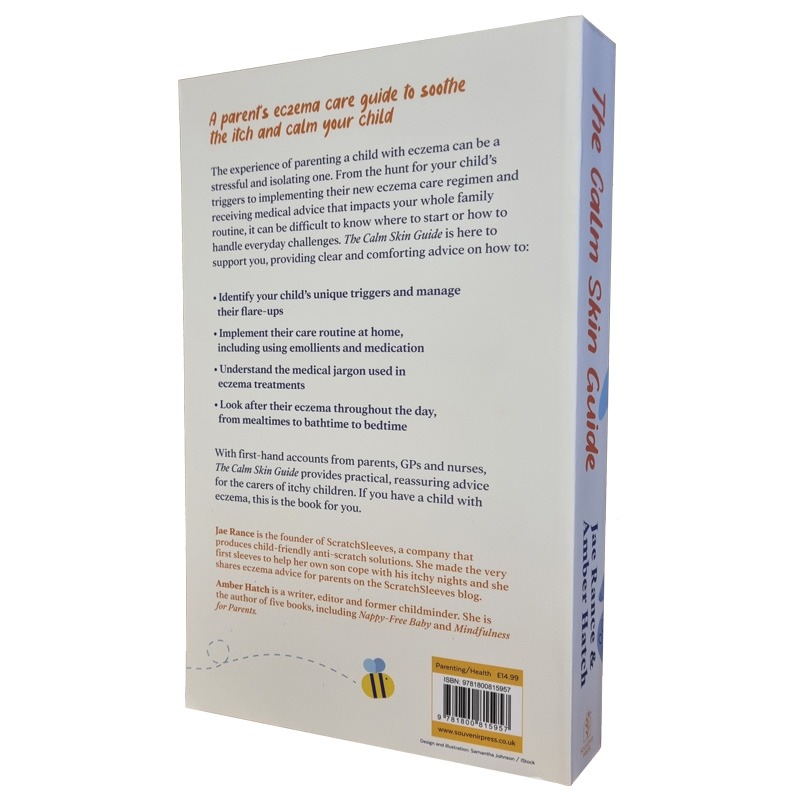
The Calm Skin Guide
Love our blog? It's also available in book format with:
- First hand accounts from parents & medical professionals
- Easy navigation
- Comprehensive index
- Additional material
Signed copies available at no extra cost
Written by:
Interesting article? Don't keep it to yourself...
Read next...
You may also find helpful...
Quick buy


Multi Buy Discount

Spend between £30 - £60 and save 5%
Spend between £60 - £120 and save 10%
Spend over £120 and save 15%
Discount automatically applied at checkout
No Quibbles Guarantee

ScratchSleeves abide by a no quibbles guarantee.
Free UK Postage

Free packing and postage on all UK orders. For overseas orders to Europe postage is from £3.50, to USA is £6.50 and to the rest of the world, from £3.75.

